
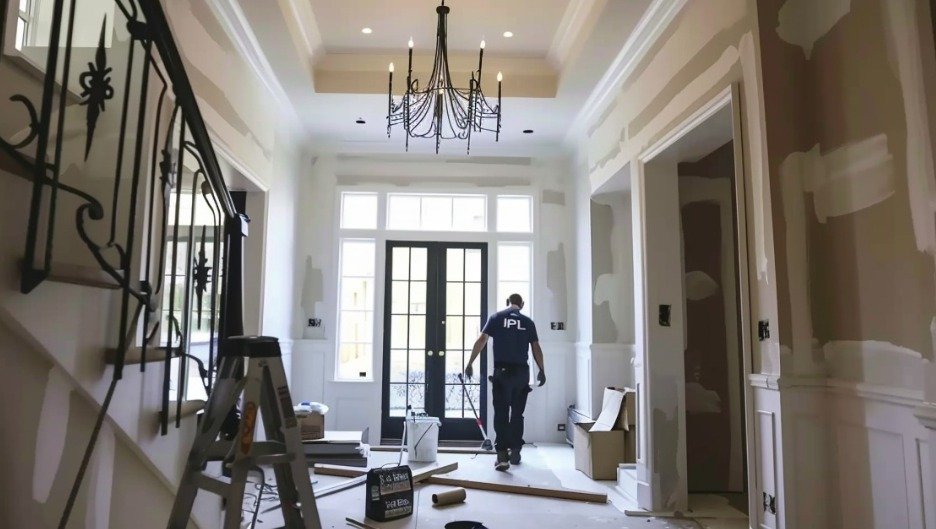
When it comes to painting interior walls, one of the most common questions is how many coats of paint are necessary to achieve a desirable finish. This question isn’t as straightforward as it might seem, as several factors come into play. The type of paint, the color being applied, the condition of the walls, and even personal preference can all influence the number of coats required. Understanding these factors can help ensure that your painting project results in a smooth, professional-looking finish that stands the test of time.
Painting is an art as much as it is a science. Each layer of paint serves a purpose, whether it’s to cover imperfections, enhance color depth, or provide durability. While some may assume that a single coat is sufficient, others insist on multiple layers to achieve a rich and even finish. The truth often lies somewhere in between, and knowing when and why to apply additional coats can make all the difference in the outcome of your project.
In this article, we’ll explore the nuances of painting interior walls, focusing on the number of coats needed in various scenarios. We’ll discuss specific considerations for different types of paint and surfaces, and we’ll provide practical tips to help you achieve the best results. Whether you’re a seasoned DIY enthusiast or a first-time painter, understanding these principles will guide you toward a successful painting experience.
How Many Coats Paint Walls UK
In the UK, painting practices may vary slightly from those in other regions due to differences in climate, building materials, and personal preferences. So, how many coats of paint do walls typically need here? Generally speaking, two coats of paint are recommended for most interior walls. This standard applies to both new walls and those being repainted, as it helps ensure even coverage and a consistent finish.
The first coat acts as a base layer, providing initial coverage and adhesion. It’s crucial to apply this coat evenly, allowing it to dry thoroughly before considering a second application. The second coat enhances the color and texture, covering any missed spots or uneven areas from the first coat. This approach not only improves the aesthetic appeal but also increases the paint’s durability. Professional interior painting services in Lewisham typically follow this two-coat approach for long-lasting results.
However, there are exceptions. For example, if you’re painting over a dark color with a lighter shade, a third coat might be necessary to prevent the underlying color from showing through. Similarly, if the walls are in poor condition or have been previously painted with a high-gloss finish, additional coats may be required to achieve the desired look.
It’s also worth noting that the quality of the paint can influence the number of coats needed. High-quality paints often offer better coverage and pigmentation, reducing the need for multiple layers. Investing in a reputable brand can save time and effort in the long run, providing a more vibrant and long-lasting finish.
Painting Second Coat Timing
Timing is a crucial factor when applying a second coat of paint. Rushing the process can lead to issues such as peeling, bubbling, or an uneven finish. So, when is the right time to apply a second coat? Generally, it’s best to wait until the first coat is completely dry. This drying time can vary based on the type of paint used, the humidity level, and the temperature of the room.
For water-based paints, which are commonly used for interior walls, the drying time is typically between two to four hours. However, it’s always wise to refer to the manufacturer’s instructions, as some formulations may require longer drying periods. Oil-based paints, on the other hand, take longer to dry, often requiring a wait of 24 hours or more before applying a second coat.
Environmental factors also play a role. High humidity can slow down the drying process, while a well-ventilated room with moderate temperatures can speed it up. To ensure optimal drying conditions, consider using fans or dehumidifiers to maintain a consistent environment.
Patience is key when it comes to painting. Ensuring that each coat is fully dry before proceeding to the next not only enhances the final appearance but also contributes to the longevity of the paint job. Taking the time to follow these guidelines will result in a more polished and professional finish. You may also find this guide useful on how long interior painting really takes.
Wall Paint Coverage Interior
Understanding wall paint coverage is essential for determining how much paint you’ll need for your project. Coverage refers to the area that a given amount of paint will cover, typically measured in square meters or square feet per liter or gallon. This information is usually provided by the paint manufacturer and can be found on the paint can label.
Several factors influence paint coverage, including the type of paint, the color, and the surface texture of the walls. For instance, flat or matte paints generally offer better coverage than glossy paints, as they have a higher pigment concentration. Darker colors may also require more paint to achieve even coverage, especially if you’re painting over a lighter base.
The texture of the walls can affect how much paint is absorbed. Rough or porous surfaces, such as textured plaster or unsealed drywall, will absorb more paint, reducing coverage. In contrast, smooth, sealed surfaces require less paint, as the paint sits on top rather than being absorbed.
To calculate the amount of paint needed, measure the total wall area and divide it by the coverage rate specified by the manufacturer. It’s always a good idea to purchase a little extra paint to account for any mistakes or touch-ups that may be required later.
Proper preparation can also enhance paint coverage. Cleaning the walls, repairing any damage, and applying a suitable primer can all contribute to a more efficient painting process. A primer not only improves adhesion but can also reduce the number of topcoats needed, especially when transitioning between drastically different colors. Proper wall preparation before painting can significantly improve final coverage.
Interior Painting Tips London
Painting interior walls in London comes with its own set of considerations, influenced by the city’s unique climate and architectural styles. Here are some practical tips to help you achieve the best results when painting your London home.
First, consider the climate. London’s weather can be quite humid, which can affect paint drying times. To mitigate this, choose a dry day for your painting project and ensure good ventilation in the room. Opening windows and using fans can help maintain optimal drying conditions.
Next, think about the architectural features of your home. Many London properties have intricate moldings, high ceilings, or period features that require careful attention. Using painter’s tape to protect these areas and employing small brushes for detail work can help maintain the integrity of these unique elements.
Color selection is another important consideration. London’s often overcast skies can influence how colors appear indoors. To counteract this, choose warm, inviting colors that add brightness to your space. Testing paint samples on your walls and observing them at different times of day can help you make the right choice. These paint colour ideas for small flats may help inspire your project.
Finally, don’t underestimate the importance of quality tools and materials. Investing in good brushes, rollers, and paint can make a significant difference in the outcome of your project. High-quality tools ensure smoother application and reduce the likelihood of streaks or uneven patches.
By taking these factors into account, you can achieve a beautiful and lasting finish that complements your London home.
Conclusion
Deciding how many coats of paint your interior walls need is a crucial step in any painting project. While the standard recommendation is two coats, various factors such as the type of paint, wall condition, and desired finish can influence this decision. Understanding the timing for applying a second coat, calculating paint coverage, and considering local conditions, especially in places like London, can all contribute to a successful outcome.
Whether you’re updating a single room or undertaking a larger renovation, taking the time to plan and execute your painting project with care will pay off in the long run. With the right approach, you can achieve a finish that not only looks great but also stands the test of time. If you’re planning a repaint, you can also request a free painting estimate in Lewisham.